Raid Setup
Introduction
Fight Type: Single Target Fight
Recommended Setup: 2 Tanks / 4 Healers / 14 DPS
Useful Utilities: Druid Roar / Shaman Wind Rush Totem / Barrier / Anti Magic Zone / Spirit Link Totem / Darkness
Easy Mode
- Position yourself to have the boss and Lava Vortex in line of sight so you can dodge lava puddles easier
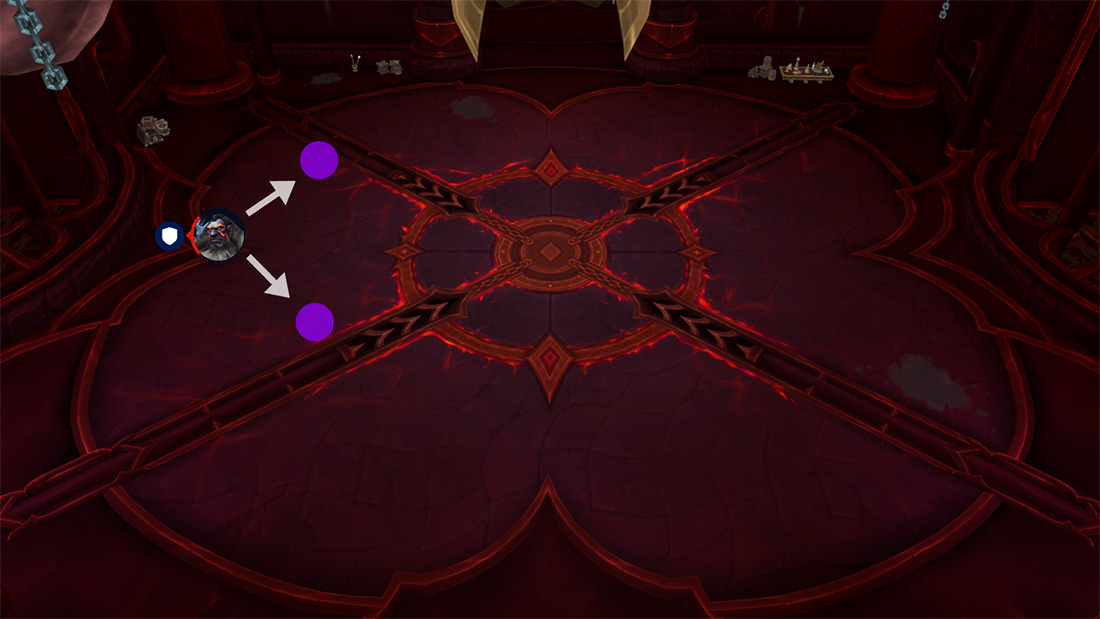
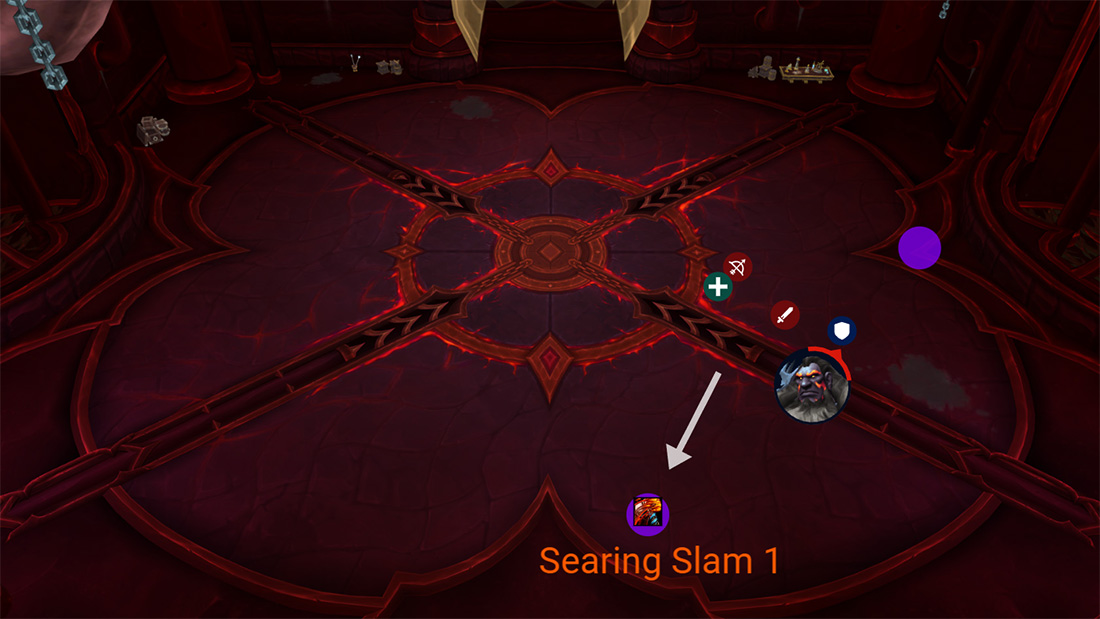
- Hit 1x Absorb circle with each Searing Slam
- Place Searing Slam in the correct spot (check strategy section)
- Soak all Doom Flame circles and soak Charged smash with everyone
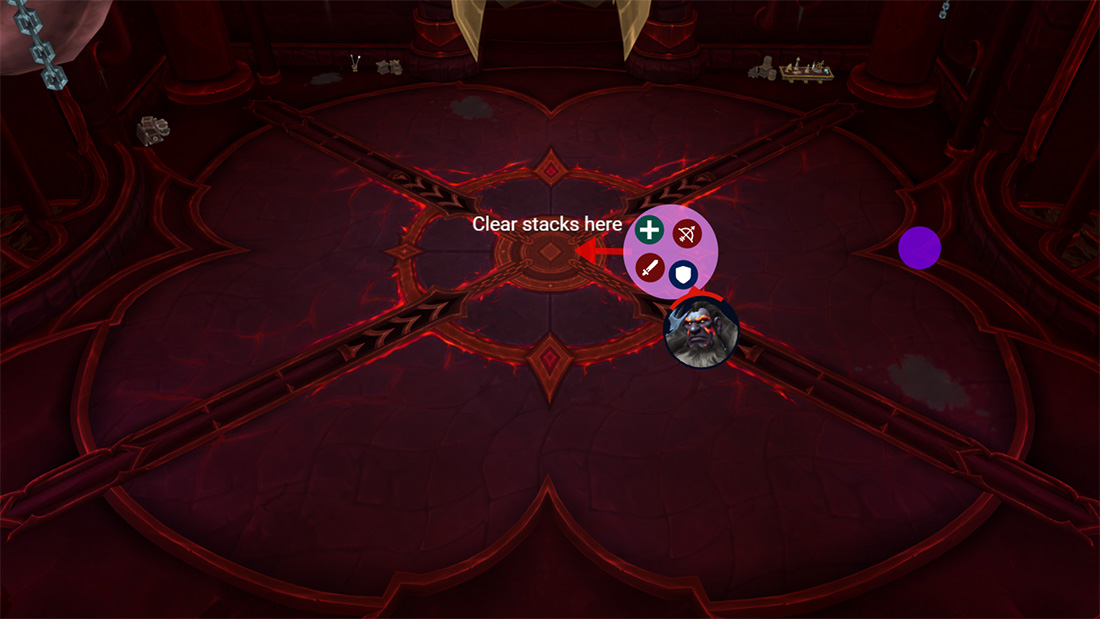
- Reset your Overcharged stacks by running into the middle in separate groups
- Dodge Shadowlava Blast Frontal
- Bring the boss to the centre of the room before he reaches 100 energy (95-98)
- During intermission, dodge Shadow Lines
- Repeat the fight and be ready to dodge more lava puddles and take extra Searing Slam damage
Mechanics
Boss will spawn 2 circles on the ground that expire after 15 sec and put a 300k absorb on players in addition to dealing moderate damage. Your goal is to destroy one of the orbs by placing a Searing Slam on it. You let the other orb expire and heal through the absorb.
Players soaking the Charged Smash on Mythic (all) will gain the Overcharged debuff that does not expire until removed via the conduit (middle), each removal deals approximately 50k damage to the entire raid.
Strategy
Warning: In its current state, Rashok Mythic is a heavy DPS/Healing check that is hard to beat, even by high ranked guilds with close to 440 raid item level. You will have to have perfectly assigned raid cooldowns and defensives, and your players better read up on method.gg/guides class guides.
Before we deep dive into the strategy, there are several things that you need to know in order to make progress with less RNG.
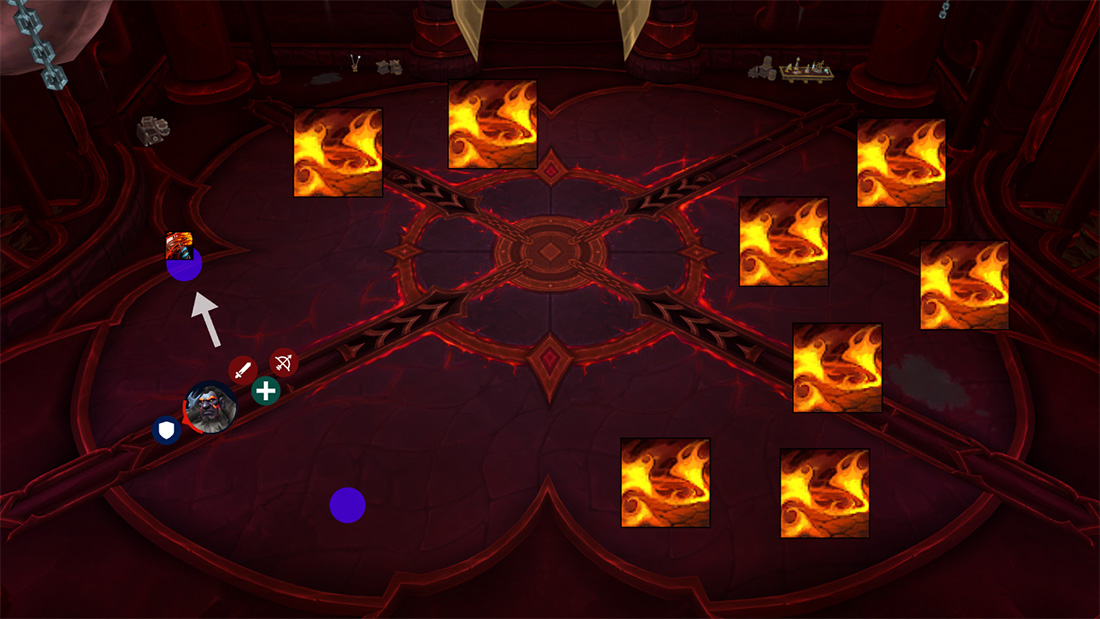
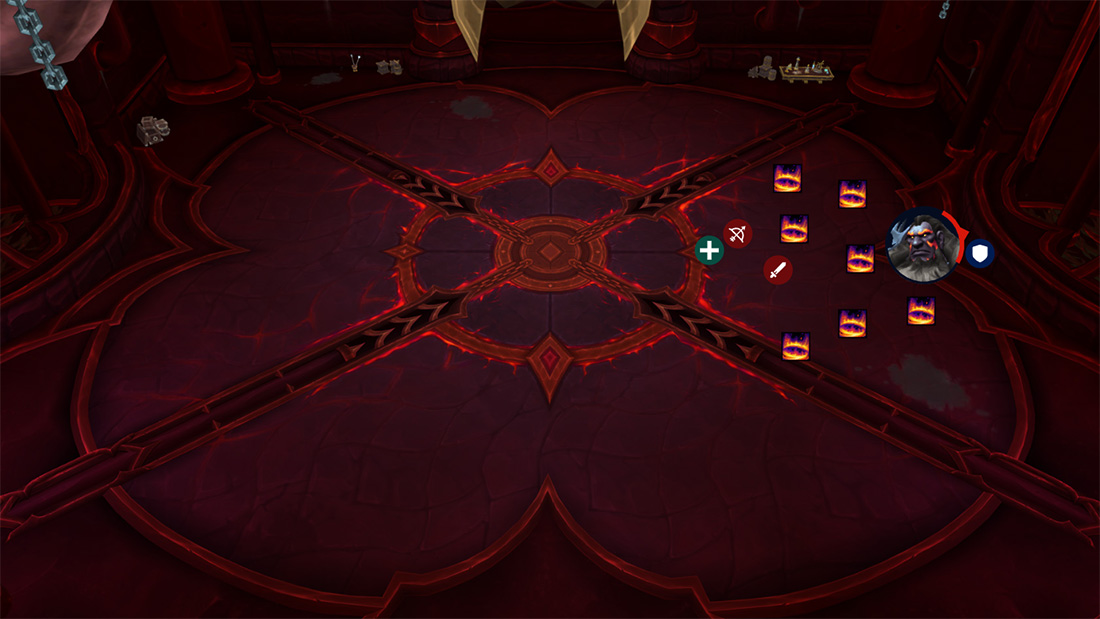
Shadowflame Energy orb spawn locations can be controlled by the player and should be done at all times, as it will make dodging lava puddles much easier.
The boss will always spawn the 2 orbs to the left and to the right of him, kind of like at the edges of an invisible frontal cone.
If the boss is standing too close to the wall, he will instead do this behind him.
There are exceptions to this. For example, if there is an obstacle in the way like a Lava pool or the Wall. In this case, the orbs will spawn more randomised, but mostly he tends to spawn one in front and one behind him.
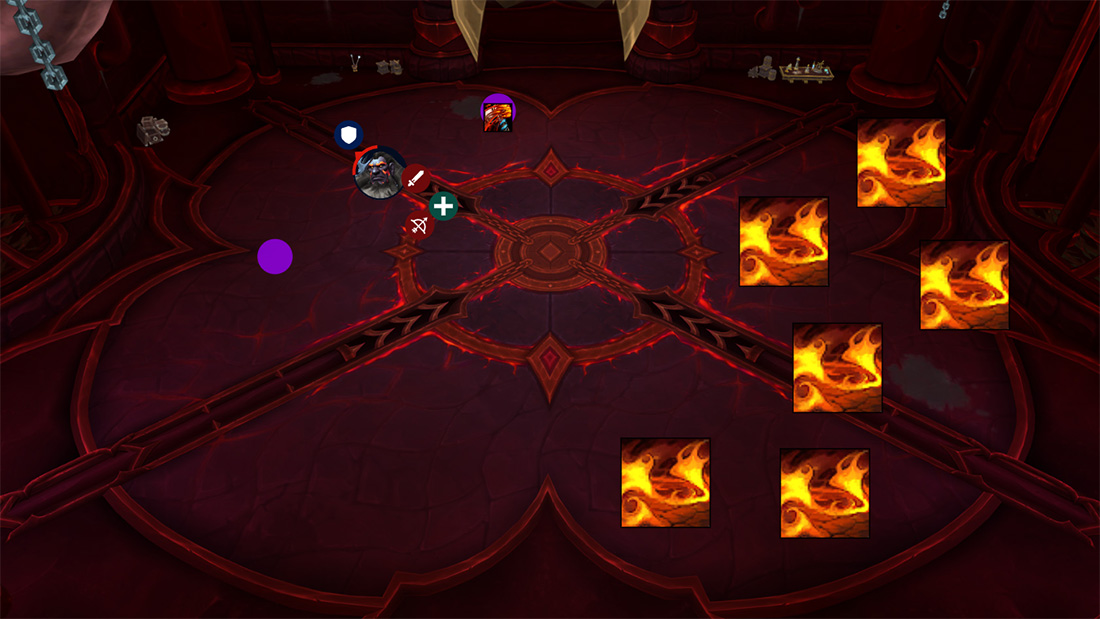
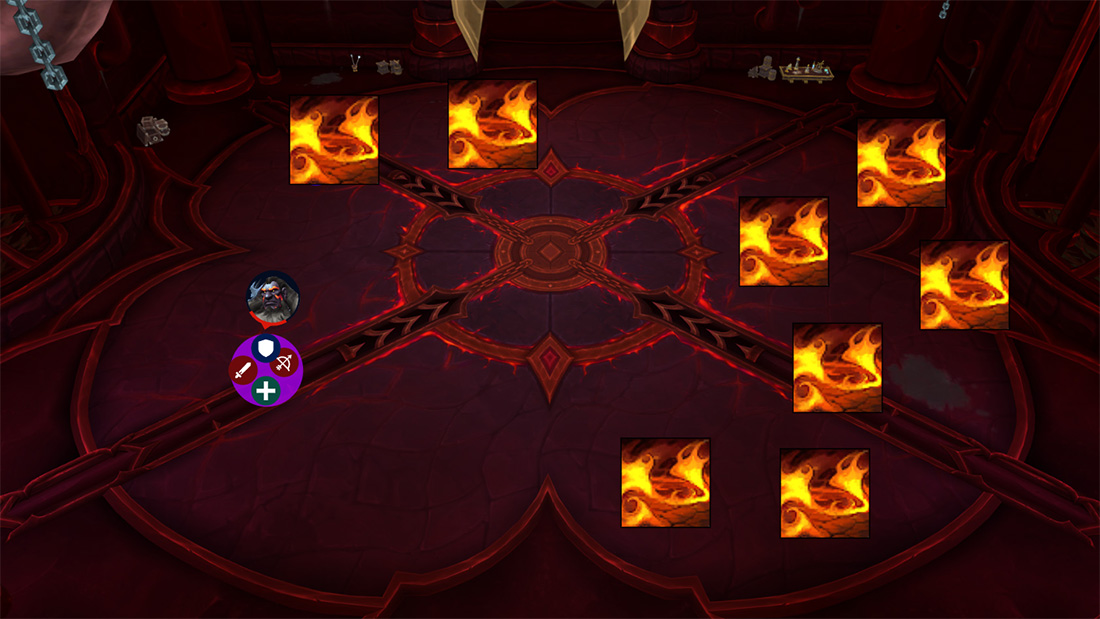
Recommended Phase 1 and Phase 2 Lava Vortex positioning
Using this placement will leave half of the room empty for Phase 3. It will be much easier to dodge and will also give you more time to react to lava puddles, as they are coming from the opposite side of the room.
Spawning the orbs in the proper position will make progressing the boss much easier, as you will always have a similar pattern of movement/dodging.
Phase 1 and Phase 2
Note: not real phases, but we call them this.
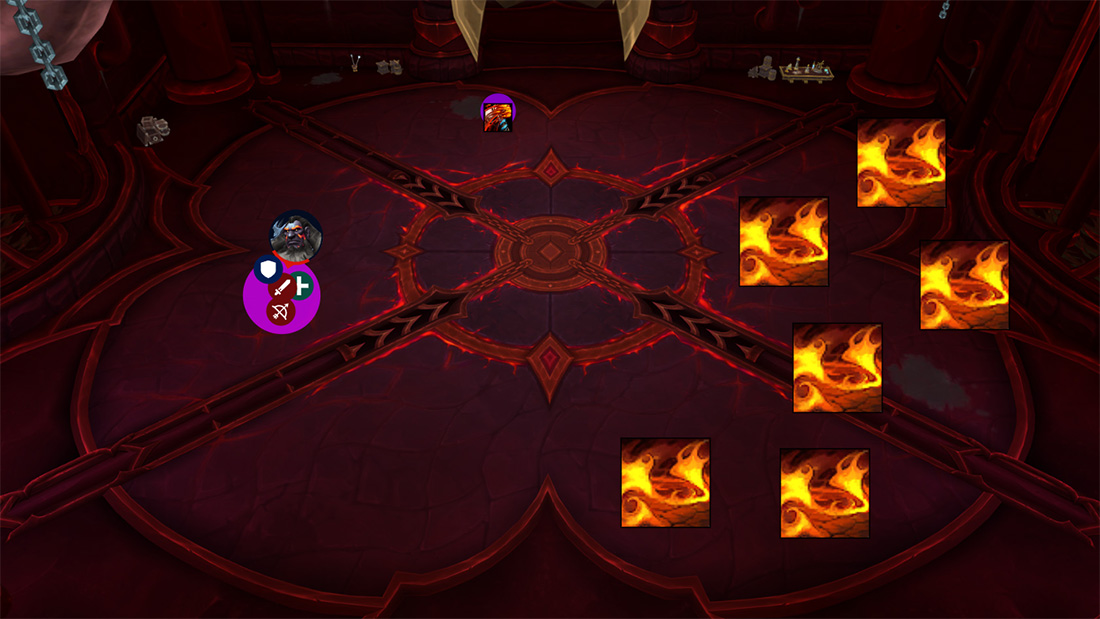
Opener Positioning
Pull the boss and wait for the first Orbs to spawn. It doesn't really matter where the first 2 spawn, as long as one of them is far away from the raid and preferably to the right side.
Send your first Searing Slam there and dodge the puddles.
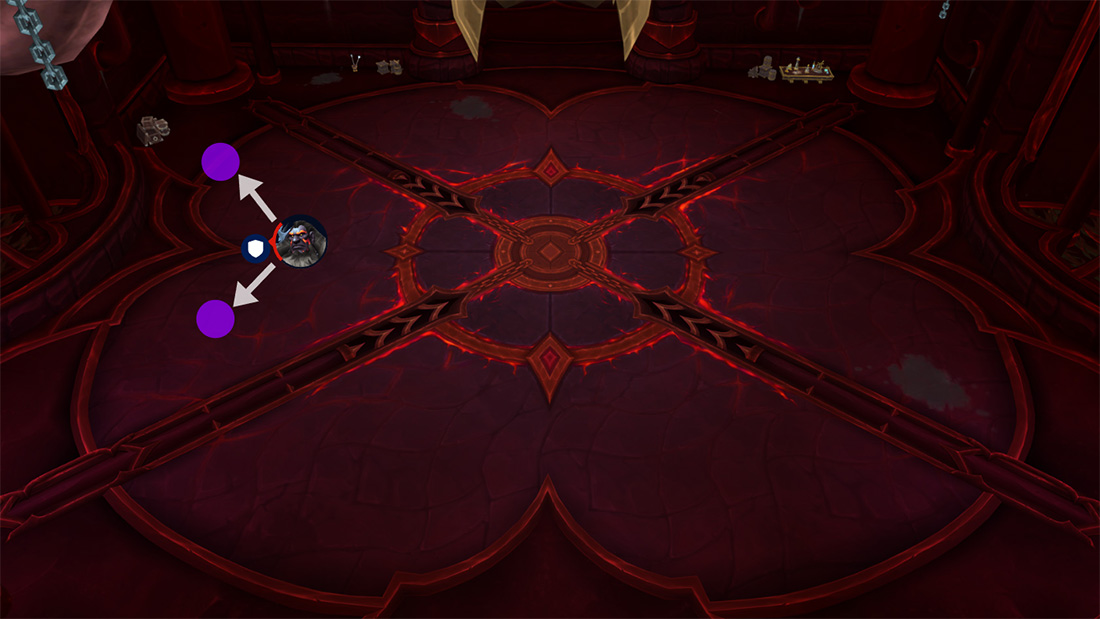
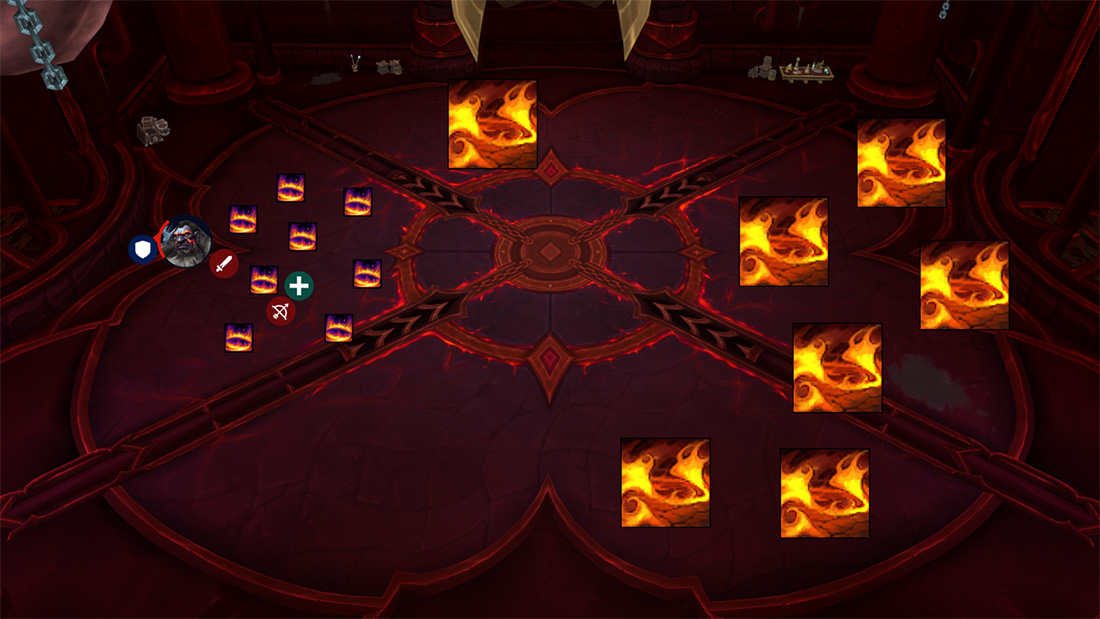
Charged Smash Positioning
Just after the boss finishes his Searing Slam, move the boss close to the middle and place the Charged Smash circle next to it (it will spawn where the tank is standing).
Make sure everyone in your raid soaks the smash to split the damage and not heal (energy gain) the boss. Worst case scenario, you need at least 15 people to soak the Charged Smash to prevent the boss from gaining extra energy.
The moment it hits, players can start resetting the stacks by walking into the middle, it's enough if you just touch it and go out.
Recommended order:
- Melees
- Ranged
- Healers and Tanks
So, Melees should go instantly after the Charged Smash hits, Ranged should go 2-3 seconds later and healers can slowly drop theirs after that. If you are running a high melee raid comp, it's best you assign some melees to delay clearing theirs instantly and just go with ranged instead.
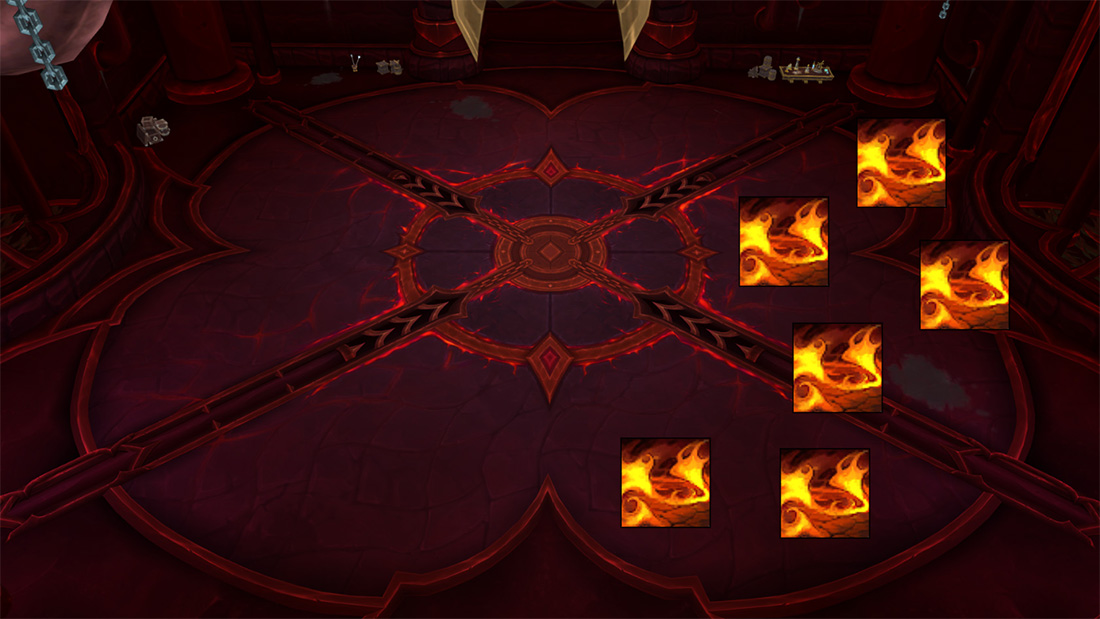
Once cleared, the boss will soon cast Doom Flames (small circles that need to be soaked).
Doom Flame Positioning
If you pull the boss all the way to the wall, he will be forced to spawn all Doom Flame circles behind him and to the side. This is recommended, as it makes it easier for everyone to soak and will reduce the movement needed, which is a DPS gain.
You repeat this process until the 3rd Searing slam, after which you get the frontal and afterwards you move the boss to the middle to trigger intermission.
During intermission, just make sure to dodge everything and do as much damage as possible. You can use spells like Spellward to give some Ranged DPS an extra 10 second window of safety, where they just blast the boss and do not have to dodge stuff.
Phase 2 is essentially Phase 1, just with more puddles to dodge and higher damage each time the boss uses Searing Slam. Keep stacking up the Lava Vortex close to each other and deal with Charged Smash / Doom Flame exactly like you did in Phase 1.
Intermission 2 is the same as Intermission 1.
Phase 3
The difference in this phase compared to the previous 2 is that now the middle conduit is destroyed, meaning you cannot reset your stacks. However, you still have to deal with all other mechanics exactly like you did in Phase 1 and Phase 2, with some small additions.
Phase 3 Positioning
After intermission 2 ends, pull the boss to the clean side of the room.
Place your first Searing slam somewhere to the right, as far away from the raid as possible.
Healer Note: Searing Slam in Phase 3 will almost always kill the person running out, unless an external or a personal is used, so be sure to pre-assign that.
Searing Slam 2 and 3 will mostly kill half of the raid if nothing big is assigned, or if players are not at full health.
After the first Searing Slam, move the boss away from the Lava Vortex and place Charged smash somewhere to the side.
Everyone still needs to soak this, but remember there is no more resetting.
Afterwards, move the boss to the wall for Doom Flames.
Shortly after this, he will spawn the next 2 orbs and you will get the second Searing Slam.

Stack up, dodge all the lava puddles and be ready for the last Charged Smash soak.
Move the boss to the side to spawn the last 2 orbs and stack up whilst dodging puddles. At this point you should use every ability that can reduce damage taken or that heals you, even campfire for an extra 1 versatility (I'm joking). Afterwards, dodge the frontal and kill the boss before everyone dies.