Ironforge Siege Guide
Learn how to complete the Ironforge Siege in Warcraft Rumble. Follow our suggested build and strategy for Thief Catchers, Mekkatorque and Magni Bronzebeard.
In this guide to the Ironforge Siege in Warcraft Rumble, I showcase strong armies for completing the Siege with a guild mate, in the open queue, or even completely solo! (You need two accounts to queue to a Siege, so solo play is only available with a passive partner)
The comps include quick instructions for the fights and you can refer to the boss descriptions for full details on all mechanics.
Co-op Builds
Tirion deathball - solo-capable


rumblo:CFMQABoECEYQARoECBsQARoECA4QABoECEsQAhoECBkQABoECFkQAg==
Important talents
Earth Shield on Frostwolf Shaman is important to give Abomination Armor.
Pyroblast on Pyromancer allows it to defend the Towers effectively even in a non-bonus slot.
Strategy
- Take the side Towers and then push through the middle with Abomination and Shamans.
- Be ready to defend the Towers when the first Thiefcatcher dies (Armored Gryphon Riders) and when phase 2 begins (masses of Defias Bandits). Use your ranged dps for defense while you reinforce the deathball with Shamans and possibly more Abominations.
Watch it in action
Grommash with Swole Troll

rumblo:CDAQAhoECFEQAhoECEsQAhoECB4QARoECFkQAhoECEYQABoECF0QAA==
Important talents
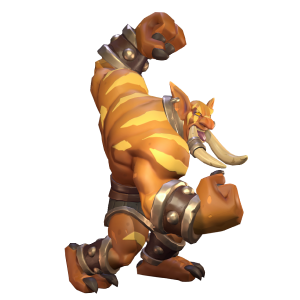
Meatier Elbow on Swole Troll is important so that it will fight against all minis.
Earth Shield on Frostwolf Shaman is important to give Swole Troll Armor.
Strategy
- Take all Towers to help with defense at phase changes
- The fastest way to win is to push the right lane so that you only kill one of the mini-bosses and engage the main boss at the top, but taking on both mini-bosses is fine
- Be ready to defend the Towers when the first Thiefcatcher dies (Armored Gryphon Riders) and when phase 2 begins (masses of Defias Bandits). Use your ranged dps for defense while you reinforce the deathball with Priestesses and Shamans and possibly more Swole Trolls.
Watch it in action
Thrall (Best XP Farming build)

rumblo:CF8QABoECFkQAhoECFEQARoECA8QAhoECAUQARoECF0QAhoECEQQAg==
Important talents
Meatier Elbow on Swole Troll is important so that it will fight against all minis.
Lightning Rod on Ancient of War is needed to redirect Polymorph.
Strategy
- Push the right lane so that you only kill one of the mini-bosses and engage the main boss at the top
- Play Ancient of War after taking the Tower, send it the other way
- Use Cheat Death at the last phase transition before the mines spawn
Watch it in action
Sylvanas (XP Farming but weaker than Thrall)
rumblo:CFIQAhoECAUQARoECB4QARoECFkQAhoECEQQAhoECF0QABoECFEQAA==
Important talents
Meatier Elbow on Swole Troll is important so that it will fight against all minis
Forsaken Fury on Sylvanas is important to have enough dps for the plan
Strategy
- Push the right lane so that you only kill one of the mini-bosses and engage the main boss at the top
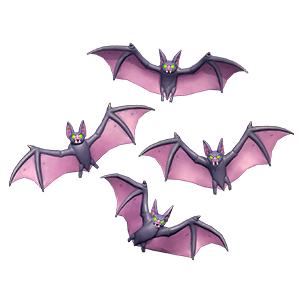
- Play Dire Batlings moments before you take down the mini boss so that they engage the stealth Gryphon Riders
- Use Cheat Death at the last phase transition before the mines spawn
Watch it in action
Boss Strategy
The Thiefcatchers are the first boss in the Siege of Ironforge. The reward for defeating The Thiefcatchers is 200 Valor, which can be used to upgrade an army slot to Diamond (+4 levels).
Minis in Thiefcatchers' army
- Darkspear Troll - Serpent Sting
- Footmen - Fortification
- Harpies - Infectious Swipes
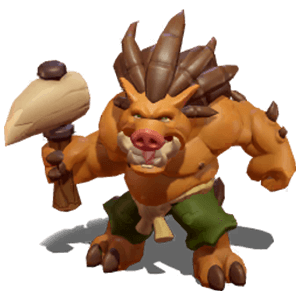
- Mountaineer - Frenzied Spirit
- Polymorph - Exploding Sheep
- Pyromancer - Pyroblast
The Exploding Sheep Polymorph can be devastating against small minis, as the Sheep explode upon death.
Other minis and map mechanics
The three Thiefcatchers are very similar, they mostly differ by their Health and damage.
Thunderbrew is the smallest one with 8,500 Health, 160 ranged Physical damage, and 210 melee Physical damage. He starts in the middle and patrols around the right column.
Farmountain is the second with 10,000 Health, 140 ranged Elemental damage, and 300 melee Physical damage. He starts on the left and patrols around the left column.
Shadowdelve is the final one with 12,000 Health, 240 melee Physical damage, and a 360-degree fan of knives for 230 Physical damage. She starts on the right and patrols the top area. She is the main boss of the encounter, and her Health determines the phase changes.
When the first Thiefcatcher dies, six special Gryphon Riders will spawn: two from both sides and two from the top. These Gryphon Riders have Armored, Resistant, Stealth, +20% damage, +20% movement speed, and they stun when they attack from Stealth (Defias Bandits Cheap Shot ability). The remaining Thiefcatchers also gain Fury.
When the second phase of Shadowdelve begins, a whopping 22 special Defias Bandits spawn around the map: they come from all sides and from the vaults in the middle. These Defias Bandits have Armored, Resistant, +20% damage, and +20% movement speed. They also apply a stack of poison with each attack.
When the third phase of Shadowdelve begins, mines will spawn throughout the middle and top parts of the map. The mines cause a 1.5-second stun and deal 300 damage to ground minis that touch them, but have no effect on flying minis.
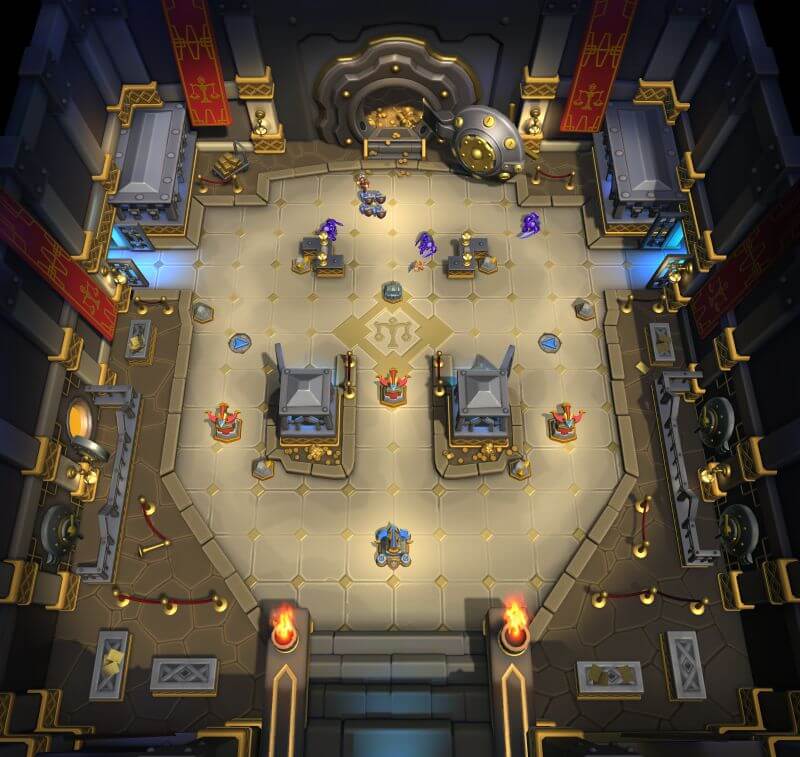
General strategy
Because the Thiefcatchers do not have a board wipe at any point, it is possible to just push through mid or one of the sides in an all-out attack with a big tank and healers. However, you may lose the race if you do that because they spawn a lot of adds at phase changes and those adds can destroy your base.
It is safer to take the Towers on the sides so that you can fight the adds there, and even if you lose a Tower, you will have reduced the strength of the attack that reaches your base.
Either way, deathball strategies are effective because of the lack of a board clear. Big minis are also less vulnerable to the Exploding Sheep and the mines than more fragile squads.
Co-op Builds
Rivendare deathball - solo-capable
rumblo:CBIQABoECA4QABoECEYQABoECBsQARoECBMQARoECEsQAhoECFkQAg==
Important talents
Earth Shield on Frostwolf Shaman is important to give Abomination Armor.
Pyroblast on Pyromancer allows it to defend the Towers effectively even in a non-bonus slot.
Strategy
- Push through the sides with Abomination and Shamans. Multiple directions is good because of Mekkatorque’s Living Bomb.
- Take the Meeting Stone in the middle with a small force to secure better access to mining.
- Be ready to defend the Towers and your base when Chickens die and at phase changes when Bombs arrive.
- The only low-range board clear happens at the start of phase 4 when the Mech suit arrives.
Watch it in action
Anub'arak with Unbounds


rumblo:CBAQARoECB4QABoECEcQAhoECE0QAhoECFgQARoECEwQAhoECFkQAg==
Important talents
Explosive Shells on Anub'arak is vital to make the Beetles worthwhile.
Strategy
- Take the Towers
- Attack Mekkatorque with your swarm
- Be ready to defend when the Chickens die and when there are phase changes
- Note that you can drop an unbound mini on top of a Big Bomb to make it explode: if you drop Whelp Eggs on it, the Eggs explode and you get to keep the Whelps
Watch it in action
Cenarius
rumblo:CBcQARoECBUQABoECBsQARoECEcQAhoECEQQAhoECF0QABoECFkQAg==
Important talents
Splashing Pumpkins on Plague Farmer enables it to hit the backline.
Strategy
- Push through the sides. Multiple directions are good because of Mekkatorque’s Living Bomb. Try to push a different lane than your partner.
- Take the Meeting Stone in the middle with a small force to secure better access to mining.
- Be ready to defend the Towers and your base when Chickens die and at phase changes when Bombs arrive.
- Drop Quilboars or Dark Iron Miners on top of Bombs or Robo Gnomes to make them explode.
- The only low-range board clear happens at the start of phase 4 when the Mech suit arrives.
Watch it in action
Boss Strategy
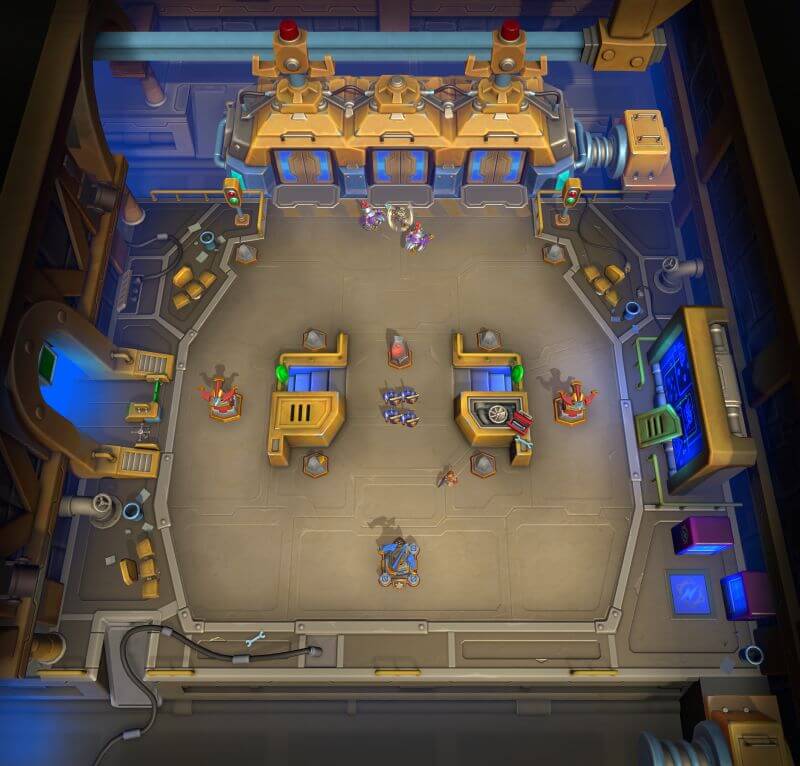
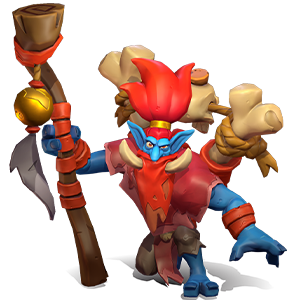
High Tinker Mekkatorque is the second boss in the Siege of Ironforge. The reward for defeating High Tinker Mekkatorque is a Rare-O-Matic gadget that can be used to buy a direct Rare mini from the Grid.
Minis in Mekkatorque's army
- Footmen - Last Stand
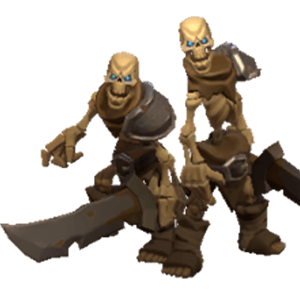
- Ghoul - Bone Shield
- Gryphon Rider - Mighty Throw
- Harpies - Talon Dive
- Huntress - Darnassian Steel
- Living Bomb - Blast Radius
Mekkatorque has Living Bomb, so large concentrations of minis are at risk of getting blown to pieces.
Other minis and map mechanics
Mekkatorque summons a wide variety of Bombs and other minis during the encounter.
Baby Bomb:
- 275 health, Armored
- Explodes when within a range of 2 from a building or a ground mini
- 300 Siege damage explosion, radius of 3
Big Bomb:
- 1750 health, Armored, Unstoppable
- Explodes when within a range of 2 from a building or a ground mini
- 700 damage explosion, radius of 6
Flying Bomb:
- 1000 health
- Explodes when within a range of 2 from a building or a mini (also flying)
- 300 damage explosion, radius of 3
Robo Gnome:
- 500 health
- Shoots Laser Missiles
- 11 range
- 12.5 Elemental damage every 0.2 seconds for 8 seconds
In phase 1, Mekkatorque is protected by two Chickens that give it a 99% damage shield. After you kill a Chicken, a Tram arrives that brings nine Baby Bombs that start walking towards the Towers and your base.
Note that the Bombs explode only if they reach your minis or buildings, they do not explode if killed. Whelp Eggs, for example, are great for blowing up a Bomb, and you get to keep the popped Whelps.
When you have killed both Chickens, Mekkatorque loses its damage shield. Subsequently, Mekkatorque will gain a temporary 9-second damage shield at each phase change.
At the start of phase 2, another Tram arrives with nine Baby Bombs.
At the start of phase 3, yet another Tram arrives, this time with nine Baby Bombs and two Big Bombs.
At the start of phase 4, Mekkatorque puts on a Mech suit and heals to full. When the Mech Suit arrives, it also kills all of your minis within 8 range of Mekkatorque: this is the only small board clear the boss has.
Furthermore, a Tram arrives at the start of phase 4 that brings nine Baby Bombs, two Big Bombs, and six Robo Gnomes that shoot laser missiles that outrange Towers with their 11 range.
At the start of phase 5, one final Tram arrives that brings nine Baby Bombs and three Flying Bombs.
General strategy
While Mekkatorque has one low-range board clear when he calls the Mech Suit at the start of phase 4, a deathball strategy is effective against Mekkatorque too. You may want to build two strong armies to push from both sides to avoid giving too many targets to Living Bomb.
Take the Meeting Stone in the middle with a small force to secure access to the gold veins while your main push goes in from the sides.
The fight becomes more hectic as it goes on because the Trams bring more and more troops into battle, so stay ready for the Bombs and Robo Gnomes at the phase changes.
Co-op Builds
Drakkisath deathball - solo-capable
rumblo:CCEQABoECBkQABoECBsQARoECFkQAhoECEsQAhoECEQQAhoECBwQAA==
Important talents
Earth Shield on Frostwolf Shaman is important to give Drakkisath Armor.
Splashing Pumpkins on Plague Farmer allow it to outrange Towers.
Strategy
- Start by pushing through mid to take out the Fire Lord and capture the chest.
- Push both sides to take all Towers before the main push at Magni.
- Attacking from multiple directions is good because of Magni’s Living Bomb.
- Keep sending minis also through mid to take out the Fire Lord when it respawns. Fire Lord has a range of 14 and will shoot your minis in the back unless destroyed.
- Be ready to defend the Towers at the start of phase 2.
- You can usually race Magni in phase 3. If not, you need to defend the Towers again.
Watch it in action
Sylvanas with Execute and Worgen
rumblo:CFIQAhoECEQQAhoECB4QARoECFEQAhoECAkQABoECF0QABoECFoQAQ==
Important talents
Meatier Elbow on Swole Troll is important to allow it to fight against other minis.
Splashing Pumpkins on Plague Farmer allows it to outrange Towers.
Premeditation on Worgen and Bloodthirsty on Execute help to defeat the Fire Lords.
Strategy
- Use Worgen and Execute to take out the Fire Lord whenever it spawns
- Take all Towers
- Defend the Towers at the first phase change
- Keep pushing until the end at the second phase change, defense is not needed
Watch it in action
Sylvanas (XP Farming)
rumblo:CFIQAhoECEQQAhoECA8QAhoECFEQAhoECAkQABoECF0QABoECFkQAg==
Important talents
Meatier Elbow on Swole Troll is important to allow it to fight against other minis.
Splashing Pumpkins on Plague Farmer allows it to outrange Towers.
Lightning Rod is needed on Ancient of War to protect your army from Living Bomb.
Strategy
- Use Execute to take out the Fire Lord whenever it spawns - note that you need help from your partner or you need to cycle to a second Execute
- Push up one lane, try to choose a different lane than your partner
- Send Ancient of War when it does not catch up to your main army - reinforce the main army once Ancient of War is on the board
- Keep pushing until the end
Watch it in action
Boss Strategy
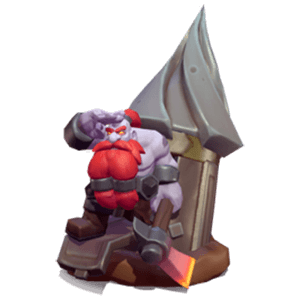
King Magni Bronzebeard is the third and final boss in the Siege of Ironforge. The reward for defeating King Magni Bronzebeard is a Wildcard slot that you can use to turn the top-right army slot of a Leader of your choice - it does not have to be the one you beat Magni with - into a wildcard that gives the bonus to any mini.

Minis in Magni's army
- Fire Elemental - Blazing Speed (Firehammer talent, essentially talentless)
- Harpies - Trinket Collectors
- Living Bomb - Blast Radius
- Mountaineer Dwarf - Intimidation (essentially talentless)
- Murloc Tidehunters - Safety Bubble
- Pyromancer - Conflagrate
Magni also has Living Bomb, so large concentrations of minis are at risk of getting blown to pieces.
Other minis and map mechanics
There is a special Fire Lord in the middle of the map. It guards the Chest there and has a powerful long-range attack that deals 250 Elemental area damage with a range of 14 - that’s a longer range than a Meat Wagon has with the range talent! You want to take it out both to get access to more gold and to prevent it from shooting your minis as they make their way towards Magni. The Fire Lord will respawn eventually, so you will need to take it out multiple times during the course of the fight.
At the start of phase 2, two Magni Bears and many Mountaineer dwarves will spawn. Four Mountaineer Dwarves attack from the top and two from each of the four side entrances. The Dwarves from the side entrances are strong enough to destroy even a +2 level Tower, unless you send some troops to fight them.
The Magni Bears are beefed-up Mountaineer Bears with more damage (110), a knockback effect on their attack, and more Health (2200).
At the start of phase 3, many Mountaineer Dwarves will spawn again: the same set of four from the top and two from each side entrance. Magni also starts to throw his hammer at your base, initiating a base race. Finally, Magni gains Molten Armor and will start burning melee attackers for 75 Elemental damage every 1.5 seconds when hit.
General strategy
Start by pushing through mid and one of the sides to take down the Fire Lord as early as possible. You want to take all the Towers eventually and push at Magni from both sides to mitigate the threat of Living Bomb.
Because you want to take the chest in the middle and kill the Fire Lord as soon as it respawns, it makes sense to send many of your pushes towards Magni through the middle also later in the game.
Be ready to defend the Towers at the start of phase 2 because Magni’s Mountaineer Dwarves will take them down if they are undefended. In phase 3, you can defend the Towers, but you can also just focus everything on Magni and race him from there.