Raid Setup
Introduction
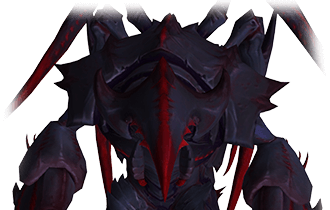
Welcome to our Heroic The Bloodbound Horror boss guide, in Nerub'ar Palace. Learn about The Bloodbound Horror’s mechanics and the strategy we recommend to deal with this boss on Heroic difficulty!
If you thought this fight looks like it was ripped straight out of an episode of Stranger Things, fear not! No lab experiments or Demogorgons were harmed in the making of this guide. The Bloodbound Horror might be dark, slimy and in desperate need of a mint, but the creativity behind this encounter promises to make it one of the more memorable battles you'll face.
Fight Style: Multi Target fight
Recommended Setup: 2x Tank / 4x Healer / 14x DPS
Useful utilities: Grips, Slows, Warlock Gateway
Hero/Lust usage: On Pull
Method Boss Review
This boss felt amazing to play, and was very engaging considering it's the second boss in the Nerub’ar Palace raid.
However, the portals that spawn the adds in the Shadow realm felt a bit random in the way they were spawning, meaning sometimes they would spawn on the opposite side of the room.
Additionally, the lasers would sometimes spawn behind the adds, forcing the group to move away from the adds before they can kill them, and then run around the entire room until they reach them again. This felt very awkward when it happened, so we might see some changes regarding how the lasers spawn.
Method Boss Rating: (4/5)
Easy Mode
- Split into 2 equal groups (1 Tank, 2 Healers and 7 DPS)
- Get hit by Gruesome Disgorge (the large frontal mechanic) to go down into the shadow realm
- Alternate the groups on each cast
- Dodge Tentacles (Grasp from Beyond) and don’t stand in the water
- Kick, Kill and Tank Lost Watcher
- Kill Forgotten Harbinger and slow / kill Blood Horrors that spawn
- Dodge the large rotating Laser beams (Spewing Hemorrhage)
- Move far away to dodge Goresplatter
Mechanics
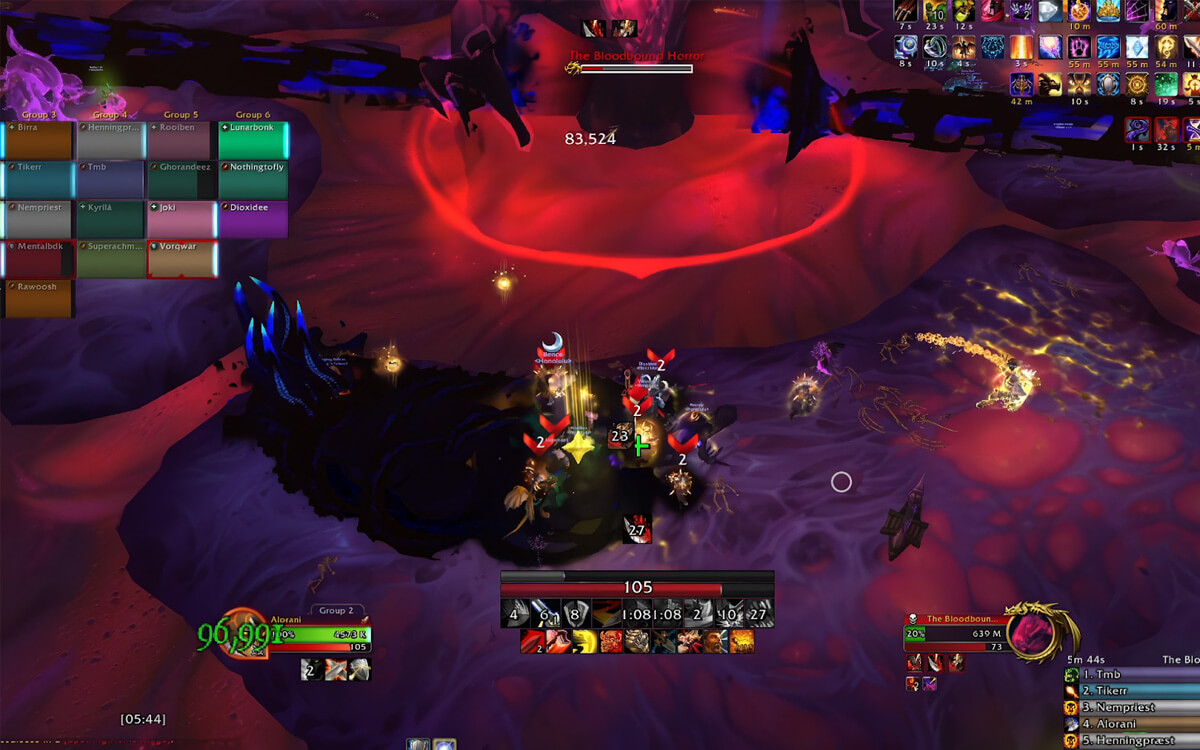
This is a massive frontal attack that is targeted at the current tank. Getting hit by this will inflict a small amount of damage, but more importantly, it sends you into the shadow realm.
When in the shadow realm, you need to kill the adds that spawn. Going down to the shadow realm prevents you from doing it again for 1 minute, so you need to alternate between 2 groups on each cast.
The boss creates a very large circle that deals massive damage to anyone hit. You can dodge this by running to the edges of the room, but you will likely need to use speed boosts and warlock gateway for safety.
After the cast, the boss puts a damage over time debuff on everyone that deals moderate damage for 10 seconds.
Several players (in the outside realm) get marked with arrows and a black puddle under them. Every 3 seconds a tentacle will erupt from the puddle, deal moderate damage to players hit. This lasts for 12 seconds meaning every player will spawn a total of 4 tentacles.
This is the water around the room, it deals 20% of your max health every second while you are standing in it.
A laser beam that rotates around the boss, it needs to be dodged.
Players in the shadow realm also need to dodge this.
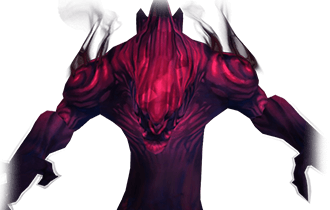
This add needs to be tanked, as it does a strong melee attack on its current target.
You will also need to interrupt Black Bulwark cast, because each successful cast applies a large absorb shield to the boss.
Harbingers only cast Manifest Horror, which is uninterruptible and will spawn a Blood Horror each time. You want to kill them as soon as possible, to avoid having to deal with more Blood Horror adds.
Strategy
The Bloodbound Horror Positioning:
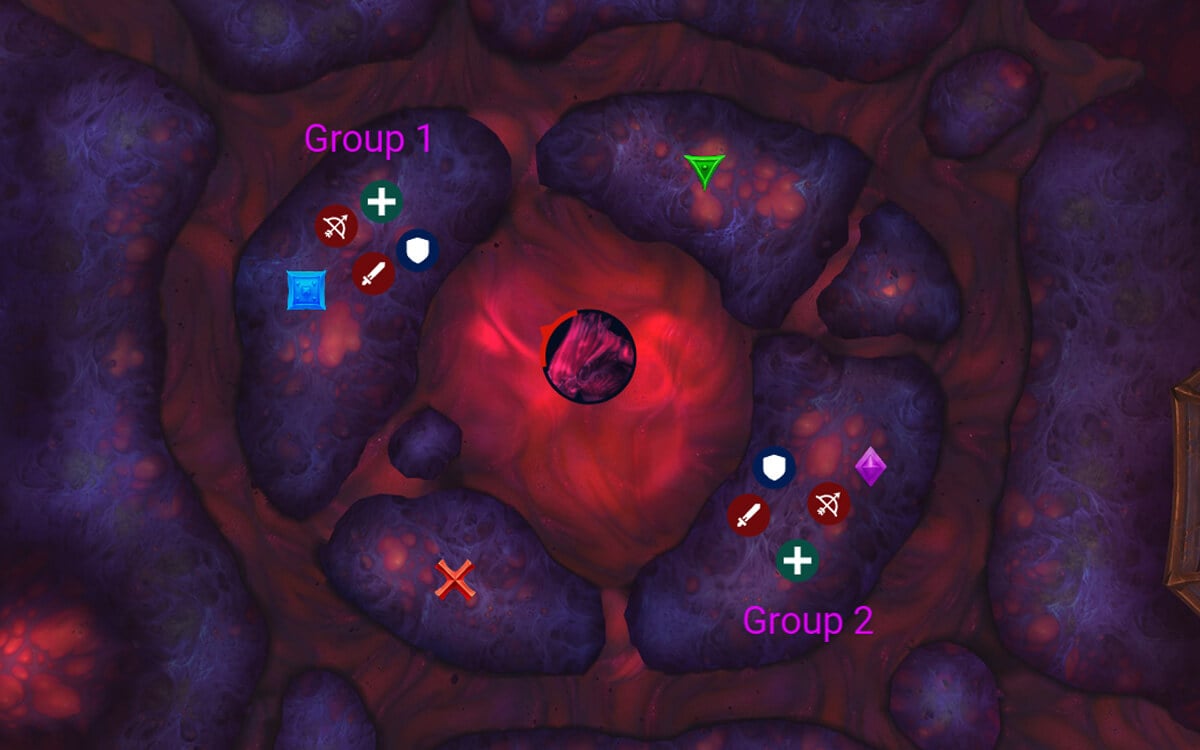
Split the raid into 2 even groups.
Tank Note: Gruesome Disgorge will be targeted at the current tank and will follow the tank until it hits, so you will have full control of where you want to place the frontal.

Shortly after you pull the boss, you will have 3 portals show up, these portals will indicate where the adds will spawn, giving you an idea where to move to and get hit with the frontal so you can be on top of the adds as they spawn.
Note: Keep in mind that you can still attack the boss even if you are in the shadow realm.
Assign 2 strong single target DPS and 1 healer to take care of the add that is on its own, positioned away from the others; once your group gets hit by the frontal, that mini-team will rush instantly towards that add. Everyone else in the group will just destroy the group of stacked adds.
It is very important that you interrupt the Lost Watcher when they cast Black Bulwark, because it puts a fairly large absorb shield on the boss. The other add (Forgotten Harbinger) will spawn small Blood Horror adds that try to reach the boss, but you can slow/stun them and their health pool is fairly small, so you should not have any issues with killing them before they reach the boss.
Now several other things will happen at the same time:
- You will spawn a spinning laser shortly after a group goes into the shadow realm
- You will get tentacles on the outside group
The lasers go counter clockwise and have a short spawn animation, giving you enough time to initially dodge it. You want to place yourself behind the laser before it spawns, so you end up following it instead of running away from it; which you will still do anyway, because the laser covers both sides, but this means you won’t be running away for the entire rotation.
Getting hit by the lasers will kill you, but you can still blink through them and use other similar abilities.
At the same time as the inside group is fighting the adds, the outside group gets the tentacles (Grasp from Beyond), and the best way to deal with those is simply running as a group and spawning tentacles behind you. The spawn delay is pretty generous, so there is no need for perfect stutter-step gameplay. This group will also need to move counter-clockwise, following the laser.
You will get 2 full sets of Grasp from Beyond (tentacles) and 2 boss frontals (Gruesome Disgorge) before the boss does his Goresplatter. It happens exactly when the 2nd set of tentacles ends.
The boss will cover all inner platforms with a circle that kills you, so you will have to go to the outer platforms to dodge this. Warlock gates are great here, but regular speed boosts and movement abilities are enough to handle the mechanic.
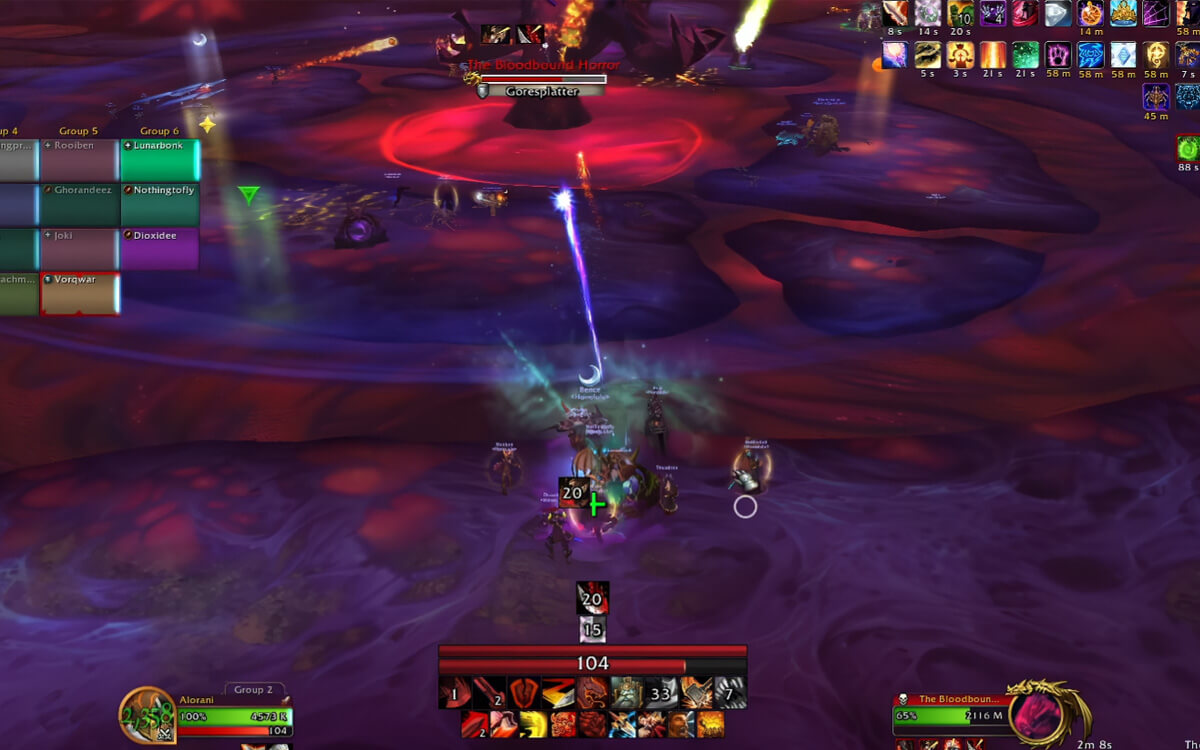
The moment that the Goresplatter finishes, the entire raid will get a DoT, each tick of this DoT deals fairly high damage, so we suggest using some personal defensives for this as you go back to the inner platforms.
After this, the entire fight repeats in the exact same order:
- Group 1 get hit by Gruesome Disgorge
- Lasers
- Tentacles (Grasp from Beyond)
- Group 2 gets hit by Gruesome Disgorge
- Lasers
- Tentacles (Grasp from Beyond)
- Goresplatter
However, there is one difference; each inside group now has additional adds to kill, making this phase of the fight harder as the fight progresses.
For example, when a group goes down for the 3rd time, there are so many adds to kill that it might be worth just focusing on the boss and keeping the adds interrupted and crowd-controlled.