


Raid Setup
Introduction
Welcome to our Heroic Cauldron of Carnage boss guide, the second boss in Liberation of Undermine. Learn about Cauldron of Carnage mechanics and the strategy we recommend to deal with this boss on Heroic!
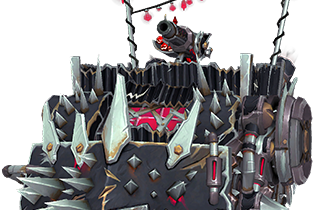
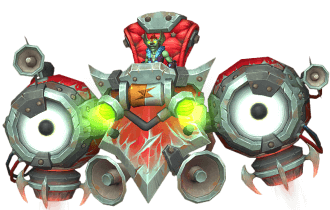
The ground trembles as you enter the arena, a battleground carved from the ruins of the Undermine. Flamendo, and Torq, are locked in an endless struggle, fangs against fists, fury against force.
Each savage strike sends shockwaves through the cavern, but they aren’t your only threat. Explosive devices litter the battlefield, searing lasers cut off escape routes, and the unstable terrain offers little refuge.
Outlast the devastation. Control the chaos. And when the dust settles, only one force will remain standing. Will it be them… or you?
Fight Style: Pure Single-Target encounter
Recommended Composition: 2 Tanks / 4 Healers / 14 DPS
Enrage Mechanic: Soft Enrage triggered when one boss falls
Heroism / Bloodlust: Pop on Pull
Guide Author's Thoughts
Recycling older bosses can offer a fresh challenge with a nostalgic twist, but that falls flat when the boss was fought just three tiers ago. This encounter is essentially Amalgamation Chamber 2.0, except you’re stuck in Phase 1 the entire time. The Mythic mechanic adds no real depth, making this the only disappointing fight of the tier.
Method Boss Rating: (1/5)
Easy Mode
Split the raid into two even groups.
Flamendo Side:
- Soak the Scrapbomb
- Spread out with Molten Phlegm circles
- Face the Blastburn Roarcannon beam away from the raid
Torq Side:
- Do not move unless necessary
- Kill Voltaic Images
- Dodge Thunderdrum Salvo circles
Intermission:
Attack the boss with higher HP%.
Mechanics
At 100 energy, the two Bosses will clash in the middle of the arena for 20 seconds. During this time the raid takes unavoidable damage and players are forced to dodge Zapbolts and Fiery Waves.
If the bosses are within 40 yards of each other, they receive a shield that reduces damage taken by 99%. This does not occur during Colossal Clash.
The last boss standing gains a 10% damage increase every 5 seconds and increased cast range. This forces you to kill both bosses around the same time.
All players within 60 yards of Flarendo, receive a stacking DoT that inflicts Fire damage.
This does not occur during Colossal Crash.
Random players are targeted by a large fire circle that will explode after 10 seconds, splitting damage between all players within. If it fails to hit at least 4 players, the entire raid takes heavy damage instead.
Scrapbomb leaves a Molten pool puddle on the ground and sends out Fiery Waves that need to be dodged.
All players gain a fire circle that deals heavy ticking damage to the player and additional damage to all players it touches, forcing everyone to spread out.
One player gets fixated by the boss, and after a short delay, the boss will shoot a laser beam in that direction, dealing lethal damage to anyone hit. Once Fixated, players have enough time to run out of beam direction.
Heavy tank hit that launches the tank in the air and spawns several Fiery Waves that players need to dodge.
All players within 60 yards of Torq receive a stacking DoT that inflicts Nature damage.
This does not occur during Colossal Clash.
All players within range of Torq receive a power bar that fills up whenever the player moves. If at maximum charge, the player is stunned for 6 seconds. The bar will deplete if the player is not moving.
Players get targeted by missiles that spawn small circles on the ground that they need to avoid. You need to make sure that your power bar is low enough before this occurs, otherwise the forced movement will push you to max charge and you will get stunned while having missiles targeted at you.
Several images fixate on players, and upon reaching them, explode and leave a puddle of electricity on the ground. Needs to be kited and killed.
The Electricity on the ground deals damage and silences players standing in it.
Phase 1 Strategy
Unlike most fights similar to this one (The Amalgamation Chamber for example) the raid is not forced to swap their sides or the Tank swapping the boss at all.
The only thing you need to do is split the groups in a way that makes it easier for players to deal with certain mechanics.
While you do need to swap sides after the intermission, which makes every group deal with each boss at least once, the starting groups will have to deal with the same boss twice, this is why it's beneficial to make the groups optimized for that boss.
The Flarendo group should consist mostly of ranged dps players, with a few melees, preferably with a Demon Hunter because Darkness is very good for Scrapbomb soaking.
The Torq group should consist mostly of melee players, with a few mobile ranged players.
Now let's look at how both sides should play the fight.
Flarendo Group
Pull the boss close to the entrance and bait the first Scrapbomb there. This will ensure that the first puddle is in a good position and you won't waste space unnecessarily.
Everyone should soak the Bomb, and while waiting for the hit, players should spread out around the soak because they instantly need to spread after Molten Phlegm circles, and the initial application already does damage to everyone.
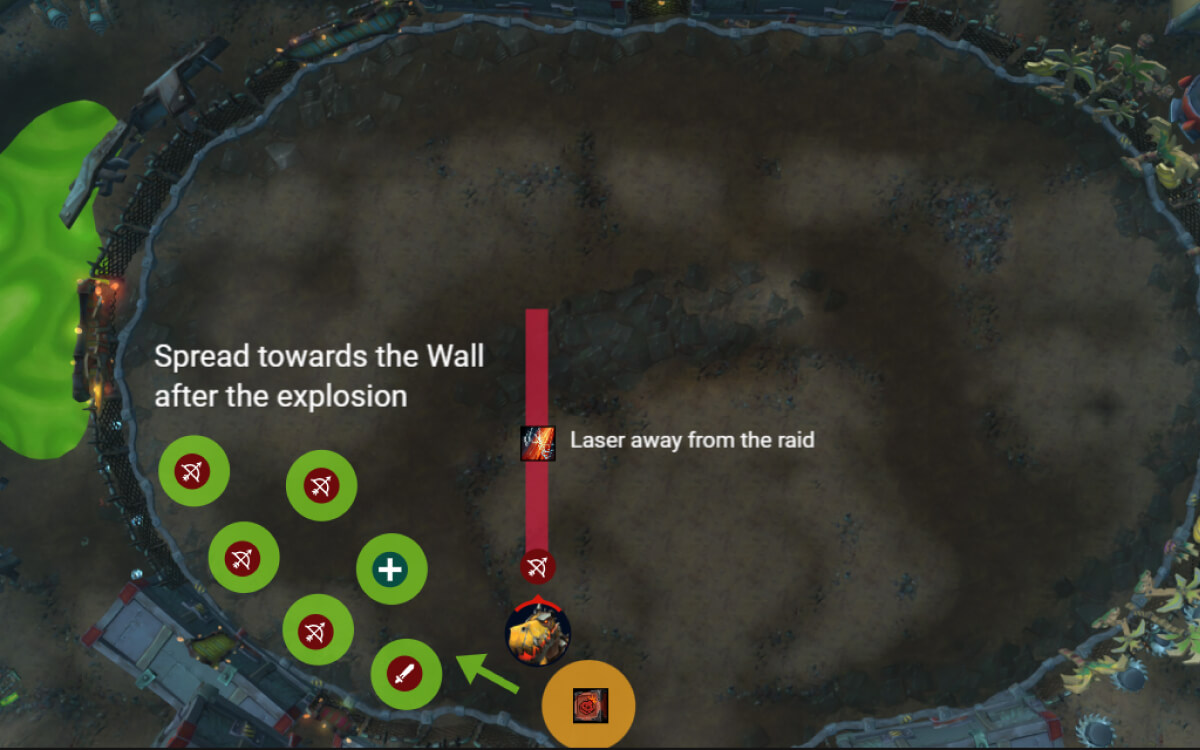
One player will get the laser fixated on them (Blastburn Roarcannon) at the same time as you are soaking, turn it away from the raid, but make sure it's not pointed towards the other side where the Torq group is, because it will reach them.
From here, this entire process repeats, the only difference is that now you will get a Scrapbomb placed on a random location of one of the players, because you cannot bait like you did at the start.
After the 3rd bomb, you won’t get Molten Phlegm circles, and intermission will start.
Torq Group
There are no positional requirements on this side, however, it is suggested that you stand closer to the wall. This is because once you get the Voltaic Images spawn, if someone accidentally pops them, they will spawn a puddle at the wall, which is generally much better than in the middle of the room.
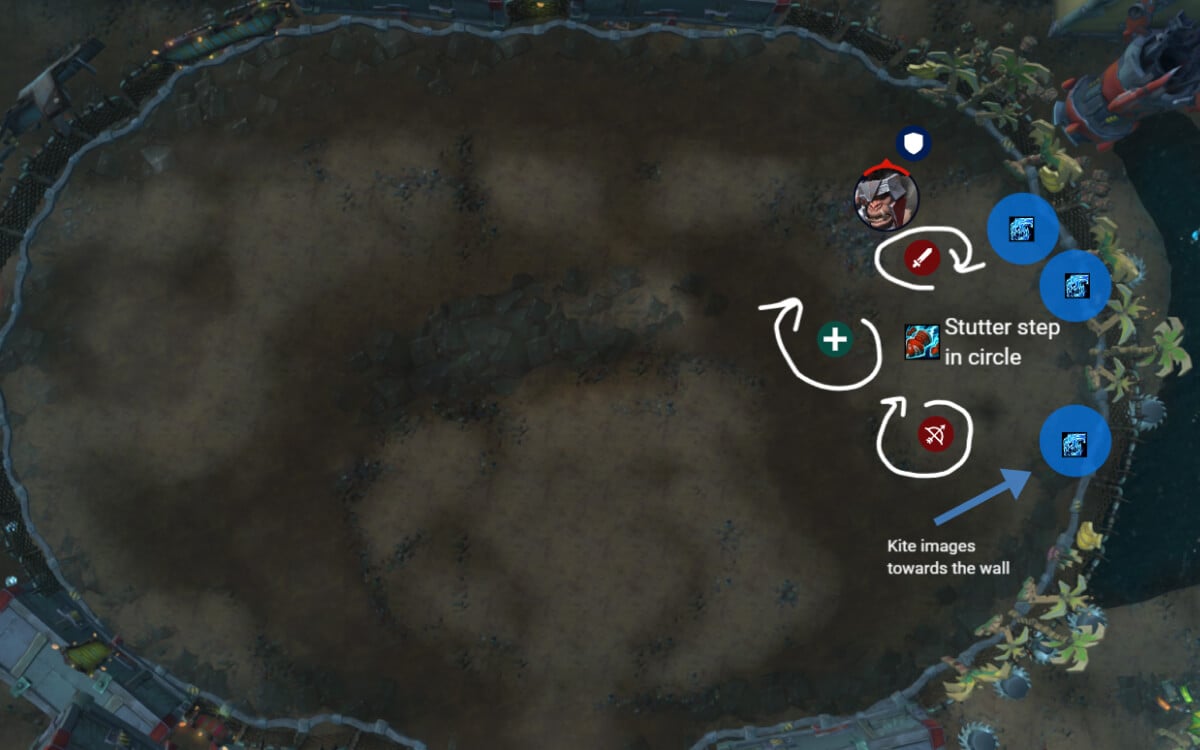
The Torq side has Static Charge applied, which fills up when players move, and if it reaches maximum charge, the player is stunned for 6 seconds (and everyone around them).
Due to Static Charge, you cannot just run around freely, so if you end up in a bad spot, you won't be able to just run away, because then you will get stunned.
Intermission Strategy
Starts when the bosses reach 100 energy.
The raid will take damage for 20 seconds and players will be forced to dodge mechanics, like Zapbolt and Fiery Wave.
This is the best time to fix the difference in boss HP if it's uneven. Prioritize the boss with more HP%.
Once the intermission is over, swap to the opposite side and get ready to deal with other boss' mechanics.
If you end up killing one boss before the other, the entire raid should swap to the remaining boss and be prepared to deal with that boss's abilities.
WeakAuras
Northern Sky: Liberation of Undermine WeakAura Pack
This WeakAura also requires the Northern Sky Database and Functions WeakAura.
https://wago.io/NSUndermine